No Glue Gun Used For This Project!!
My latest project has been the hardanger baptism dress for my new granddaughter. I started this summer and finished it about 3 weeks ago. It was a good thing I finished when I did because my granddaughter was born 3 weeks early!
My very first hardanger project was a baptism dress for my daughter who is now 25. 21 years ago I made a baptism dress for my best friend's son and my skills have improved significantly. Unfortunately I don't have a photo of that to show you. Hardanger is my favorite type of handwork even though my eyes aren't what they used to be. If you can count to 5 you can do hardanger. When you have completed a project you know that it has been done perfectly and there are no stitching errors. Hardanger has to be done perfectly or it won't line up or turn out correctly. When doing a large project like a runner you should begin stitching in 1 direction, then go back to where you started and stitch in the other direction. Hopefully, you can check to see if stitches are lined as you go along. If you goofed you will have to do some ripping but at least you shouldn't have to rip out all of your stitching.
1. A little history about hardanger can be found at this site.
2. Basic instructions for hardanger can be found here and here.
3. A good beginner book for hardanger is "Beginner's Charted Hardanger" which you can order from the Nordic Needle. They also have free hardanger charts you can download.
4. Here is a project you can download.
My First Hardanger Baptism Dress
My daughter's dress was made entirely of hardanger fabric which can be somewhat stiff but at the time of construction it seemed acceptable. There really is no pattern for the hardanger. I just did stitches that I could do at the time. In the end it turned out well and she looked very sweet in it.
My Second Hardanger Baptism Dress
I will try to get a picture of my second baptism dress.
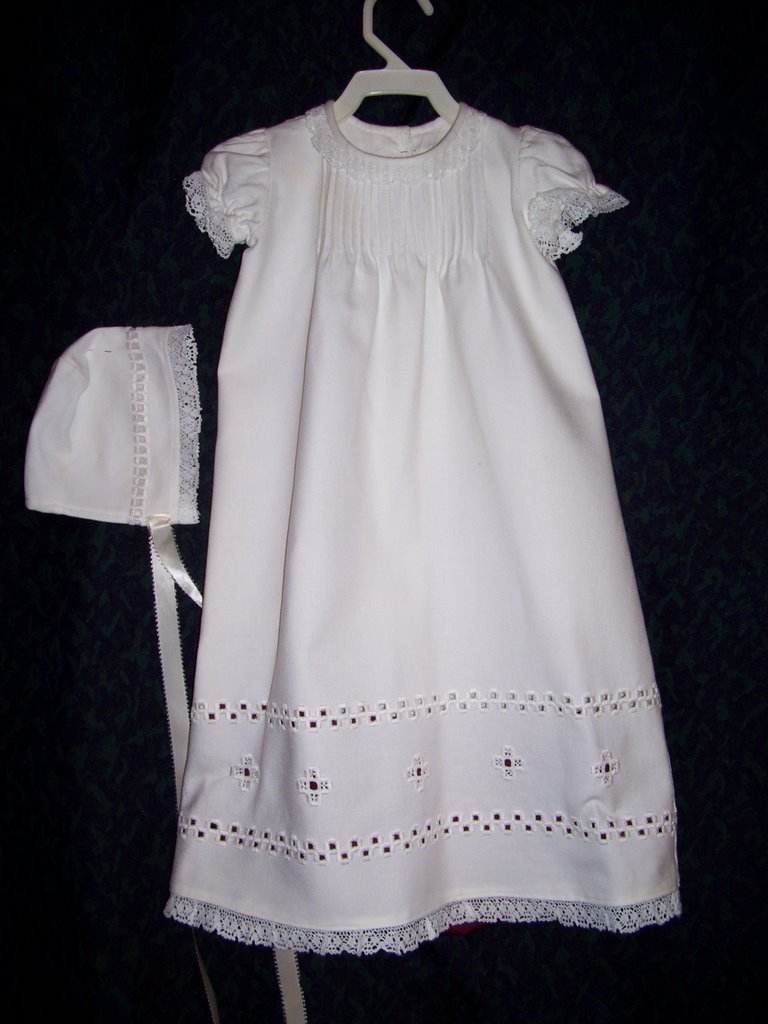
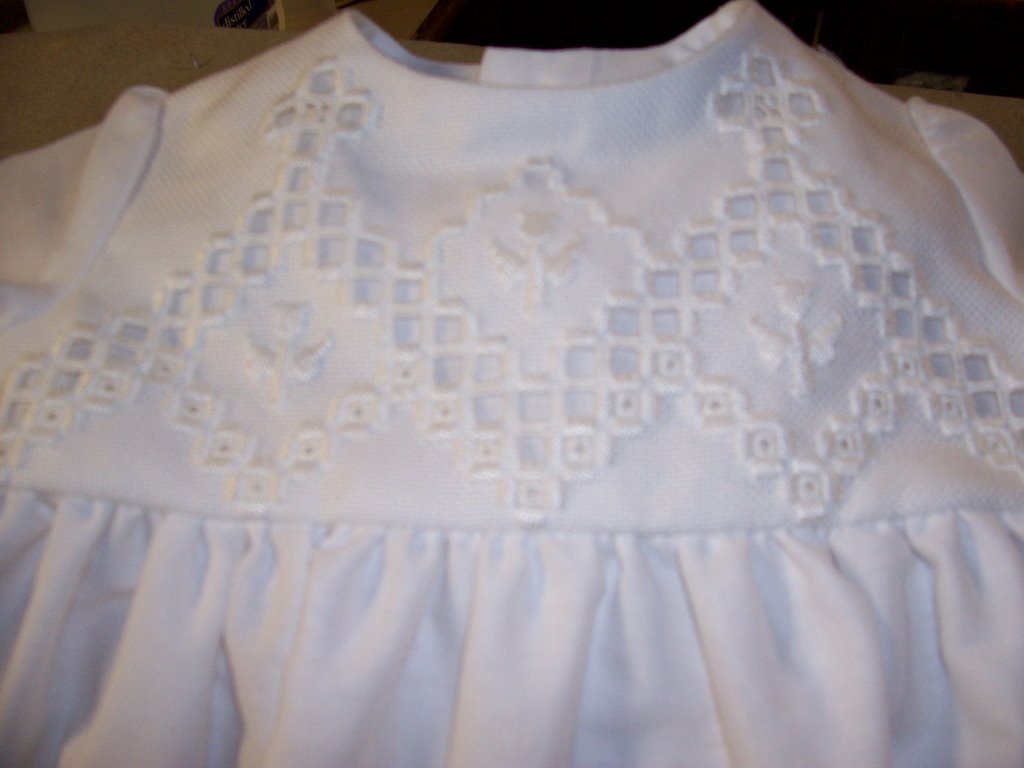
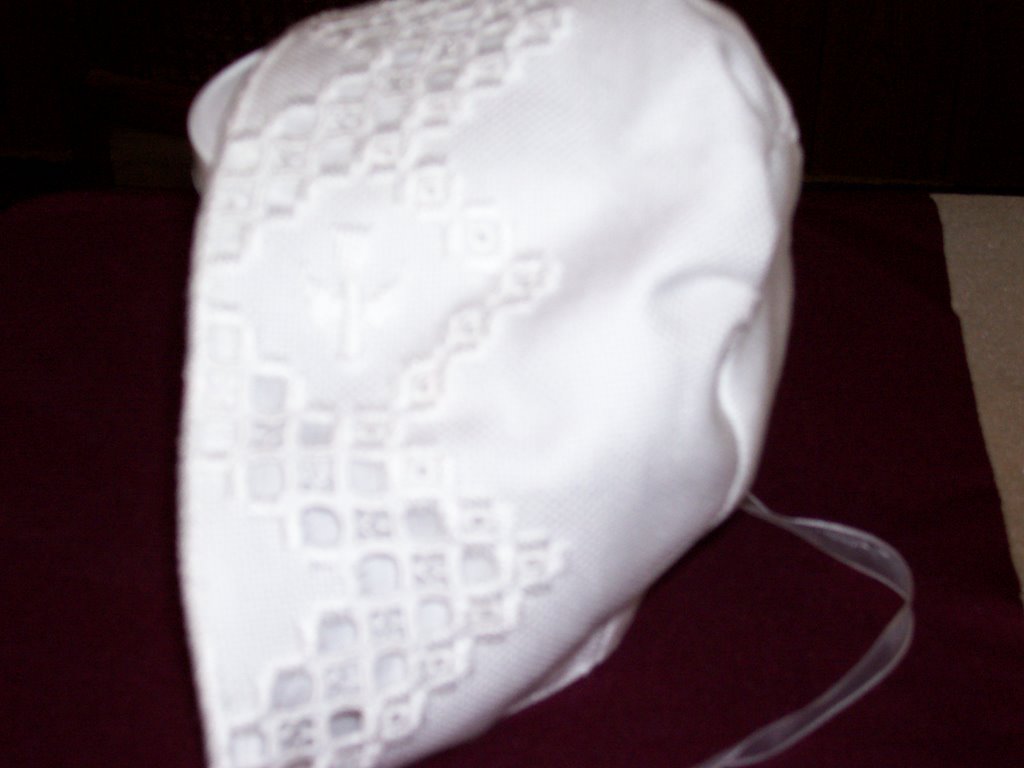
My Third Hardanger Baptism Dress
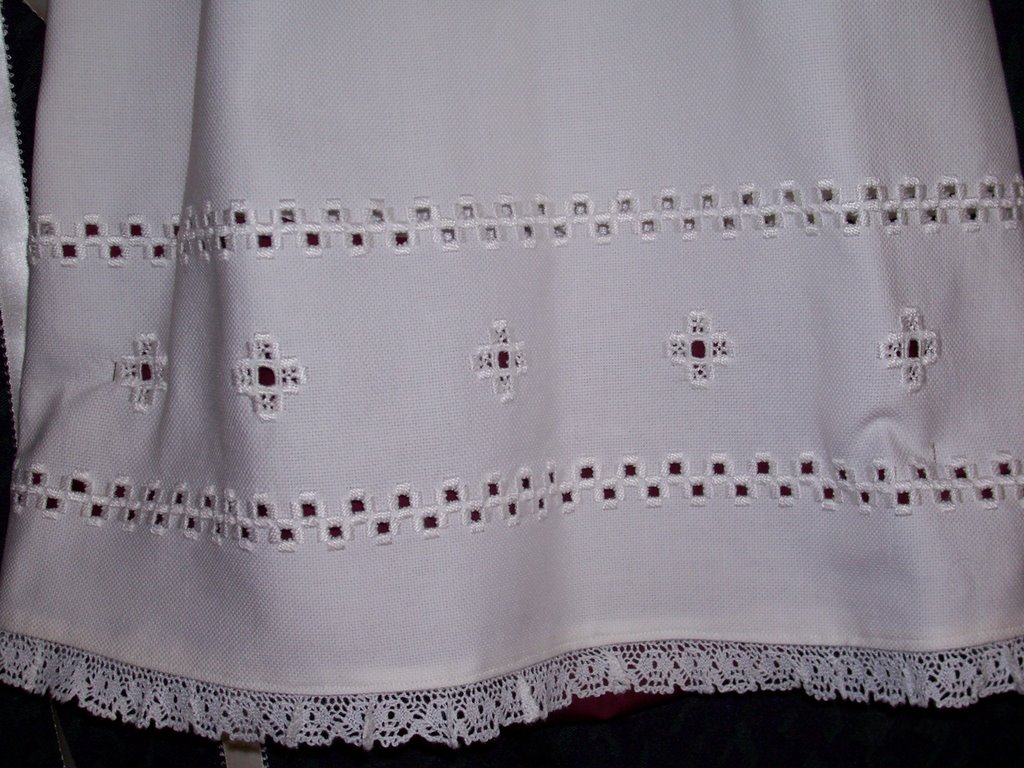
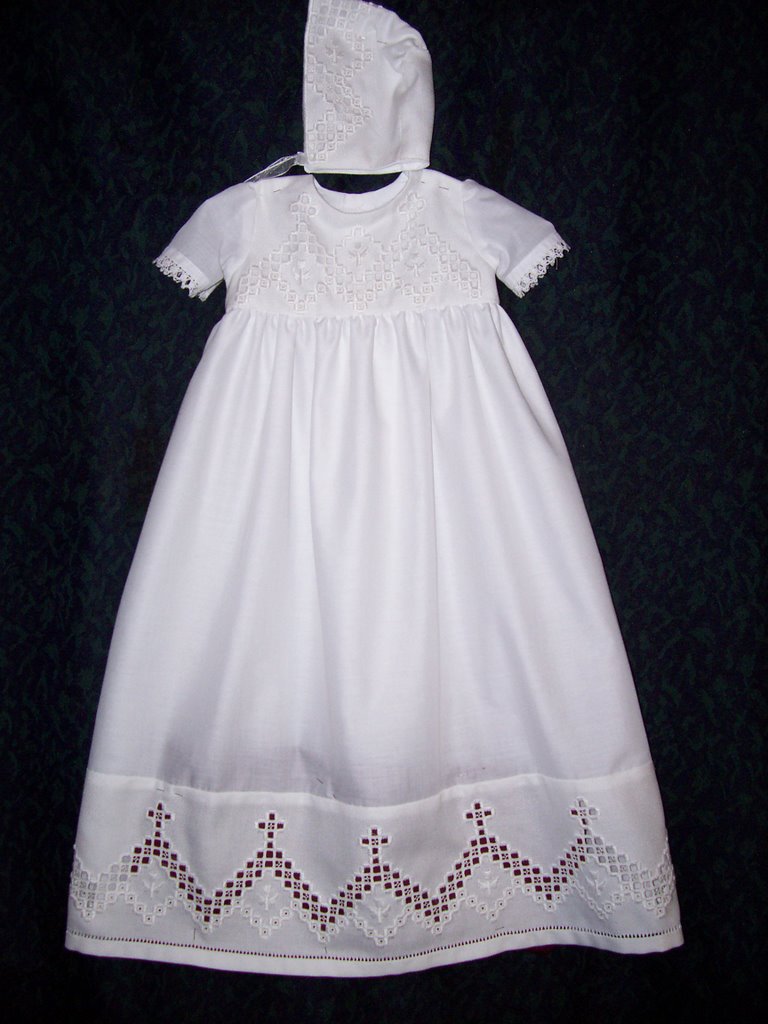 The pattern for this dress was adapted from a pattern in the 1986 Award-Winning Desgins in Hardanger Embroidery book. I get most of my hardanger books from the Nordic Needle. Each year they publish a book of projects designed and stitched by hardanger enthusiasts. The book may no longer be in print but if you contact the Nordic Needle they may be able to help you.
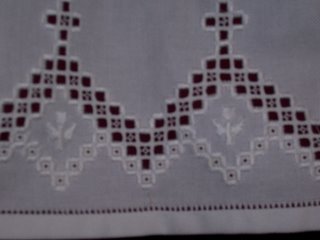
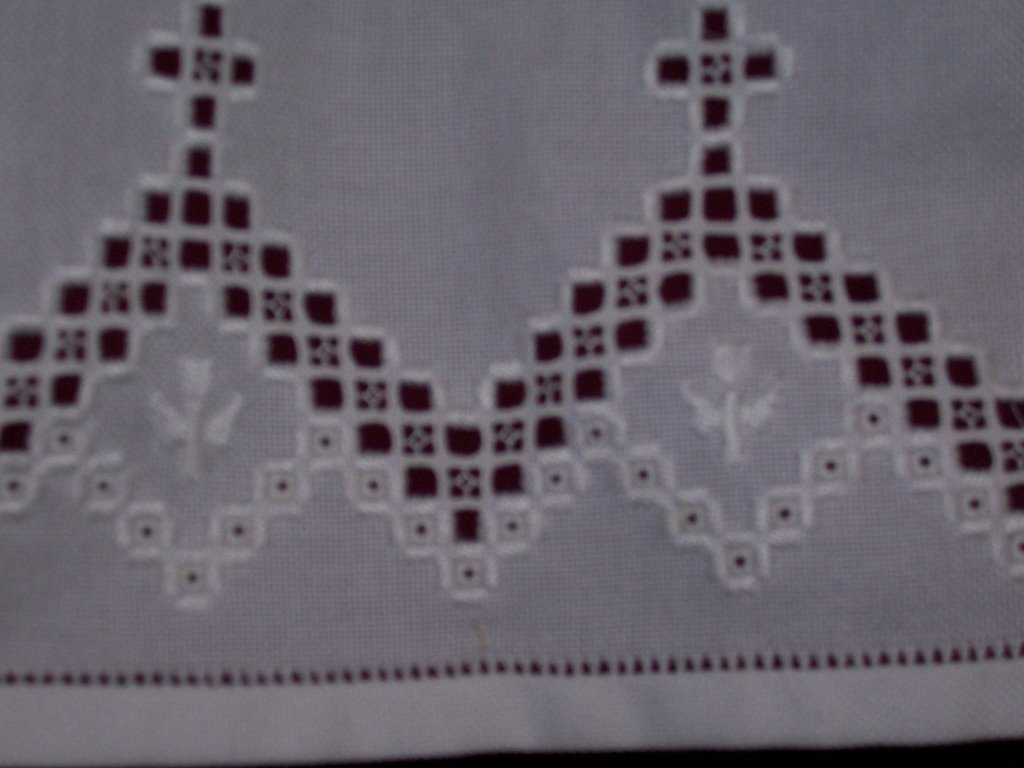
The border, cap and yoke feature cross and dove motifs. A hemstitch was used on the bottom of the border instead of a buttonhole finish. This takes less time and thread. A Simplicity pattern was used for the basic dress and I adjusted the hardanger design to fit the width of the skirt.
In the past I have made separate slips to go with the dress. I have since decided that this is a bunch of monkey business. For my latest dress I just attached a slip in the seam of the yoke using the skirt pattern. Doing this is easier and you have 1 less article of clothing to put on and fuss with and it stays in place better than a separate slip.

Oslo fabric was used for the hardanger portion of this dress. It is exactly the same as regular hardanger fabric except it is much softer and drapes easily. It is ideal for use on clothing. The dress fabric is batiste and it was chosen because it is softer and more lightweight than broadcloth.
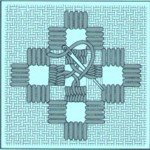
I will make a hardanger baptism towel using the cross and dove motif. If you like hardanger but don't like doing large projects, baptism towels are for you! They don't take long to make and it is a good way to practice your hardanger skills in small quantities. I make hardanger baptism towels for our church as a memento for parents and sponsors. I will post a picture of the finished towel when completed.
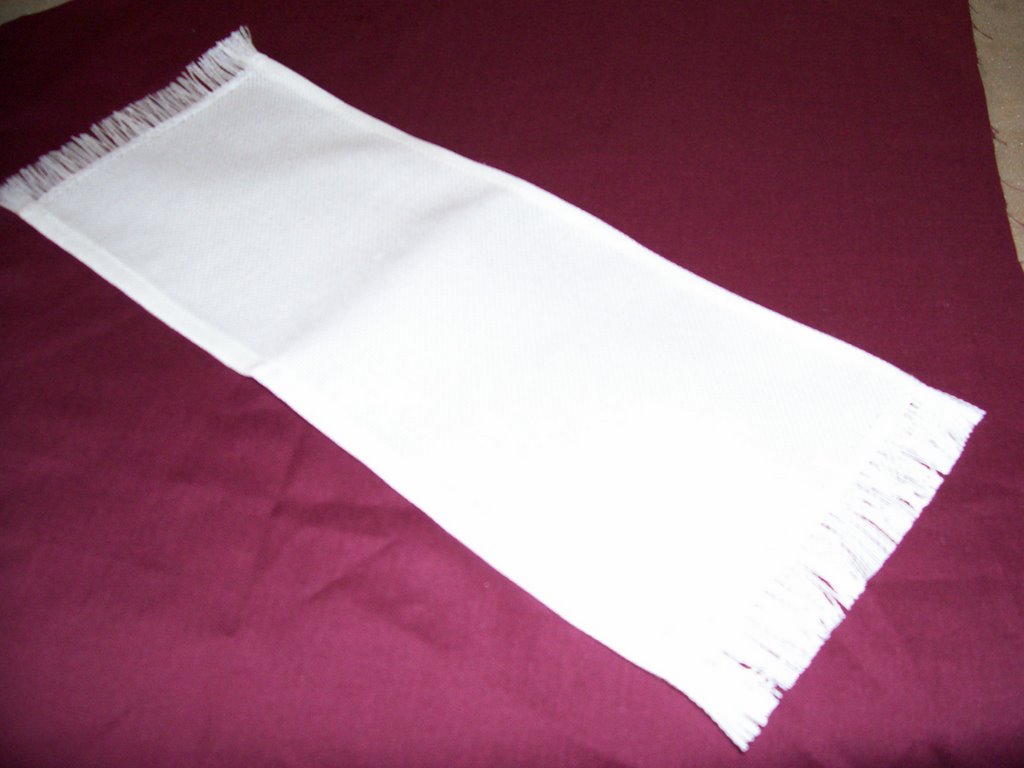
The above photo is the first step in making a baptismal towel. Any design that will fit can be used. Show your creativity by making each towel different.
- Cut a piece of hardanger or Oslo fabric 6" X 13".
- Sew a fairly wide zig-zag stich 3/4" in from the short ends.
- Pull the threads out below the zig-zag to form the fringe.
- Hem the long sides.
- Fold the towel in half, center your design and stitch.
posted by Bitten @ 11:41 AM
0 Comments
![]()

0 Comments:
Post a Comment
Subscribe to Post Comments [Atom]
<< Home