
These are the latest bags! My daughter got a good deal on the Russian nesting doll fabric and generously let me have 1/2 yd. I am especially fond of nesting dolls and acquired 5 sets in various sizes and designs while visiting Prague this past summer. From eBay I purchased an additional 3 sets and my 5 year old granddaughter likes to disassemble and assemble them.
The box bag is made from scraps in my stash. It can be used for toiletries when traveling or as a portable knitting bag if your needles aren't too long.
The purse/bag is quite roomy and will certainly hold all the crap I carry in my purse. McCall's pattern #P211 (view E) was used for this creation. The nesting doll fabric added a lot of visual interest to an otherwise plain black bag. My daughter Katie gave me 2 iron on nesting dolls that I ironed and sewed above the nesting doll fabric. Extra added visual interest in keeping with the theme!
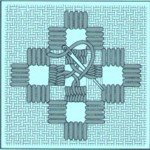
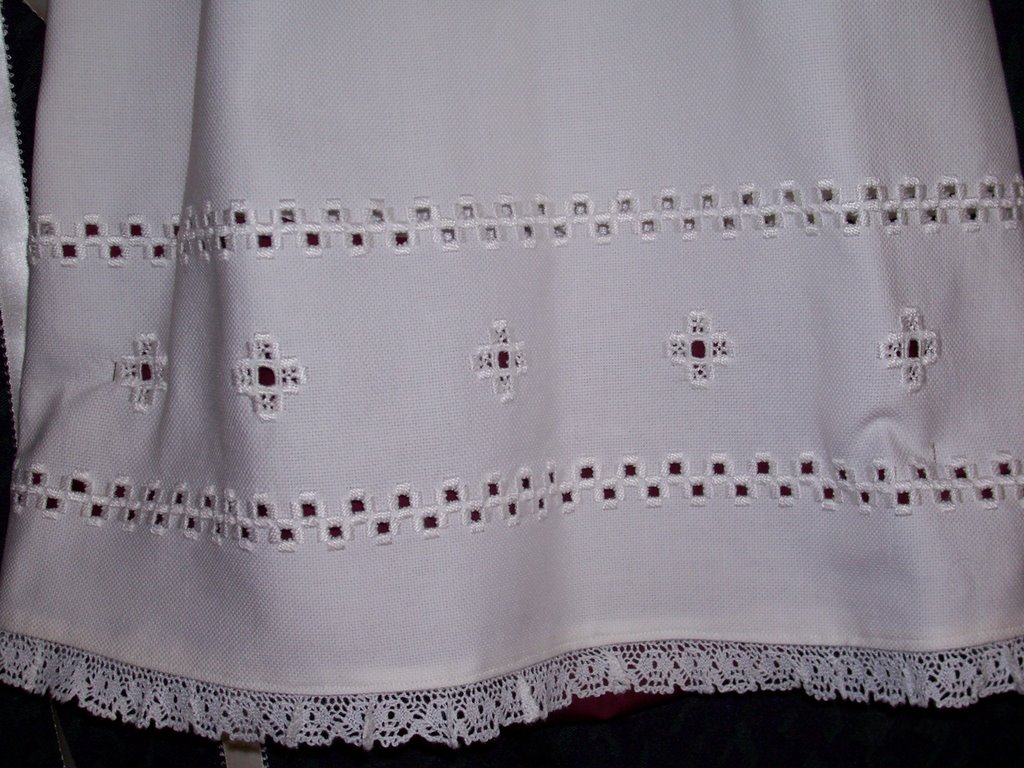
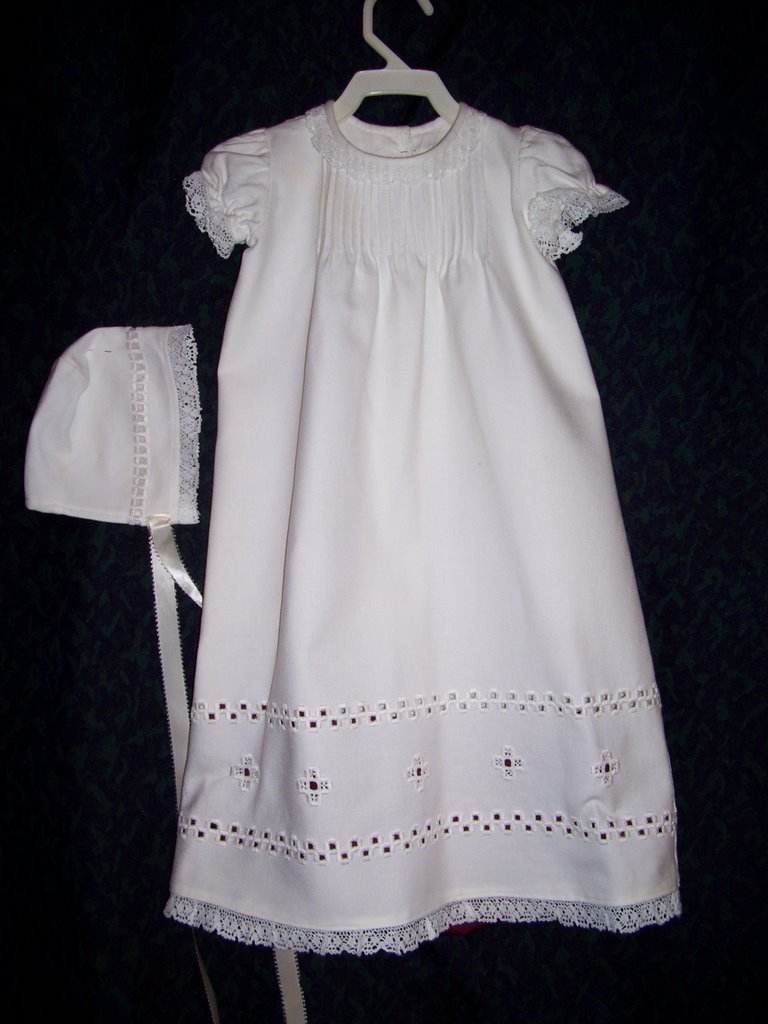
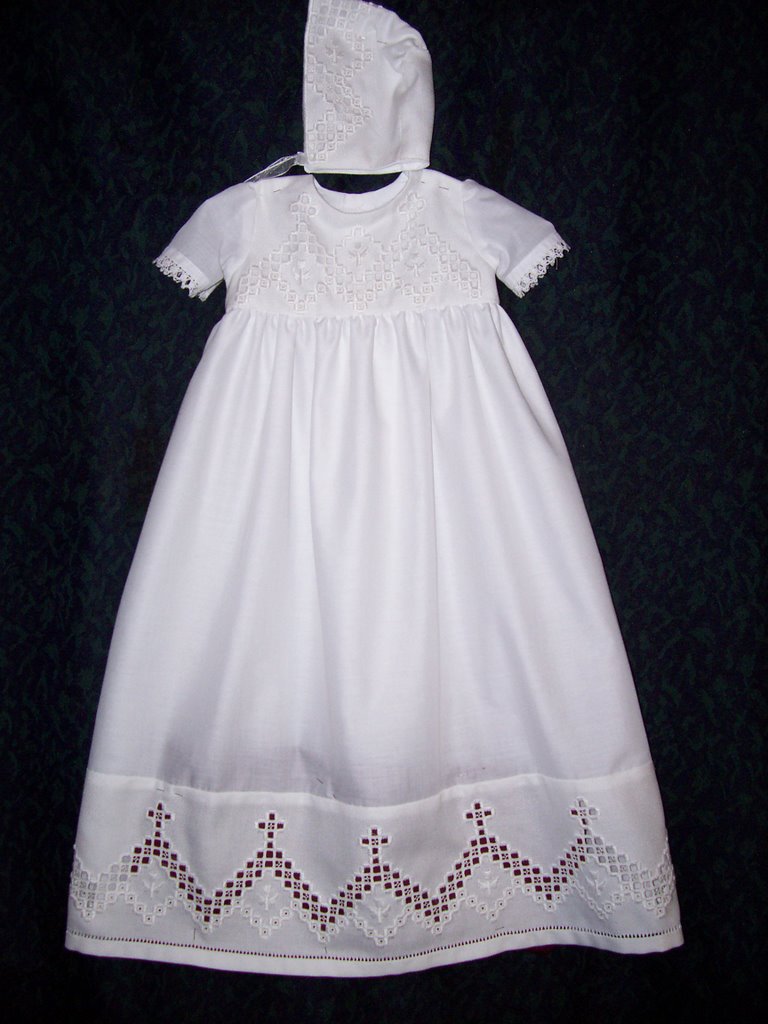
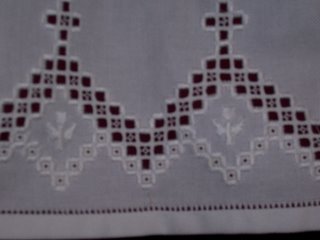
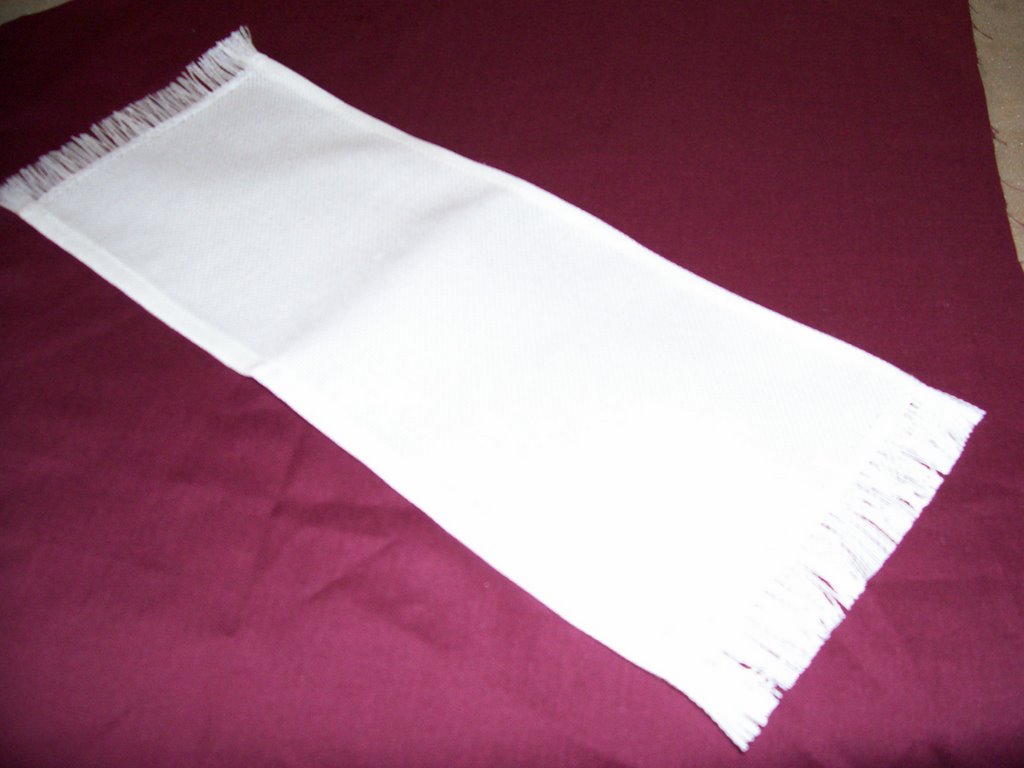
Hardanger Update

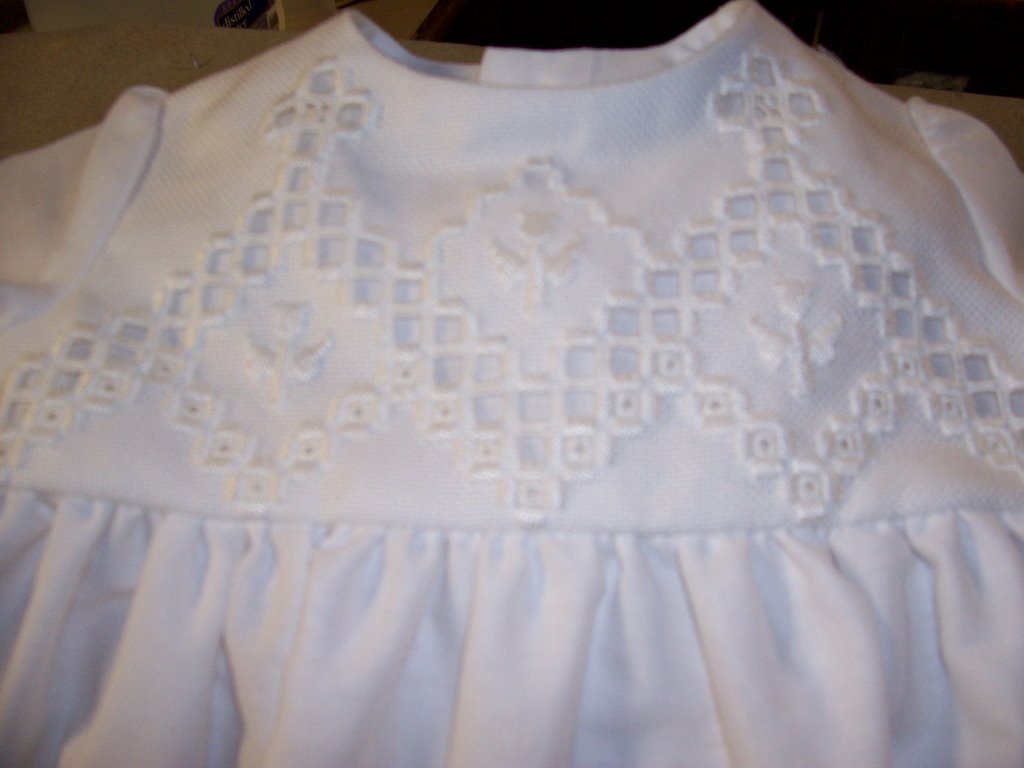
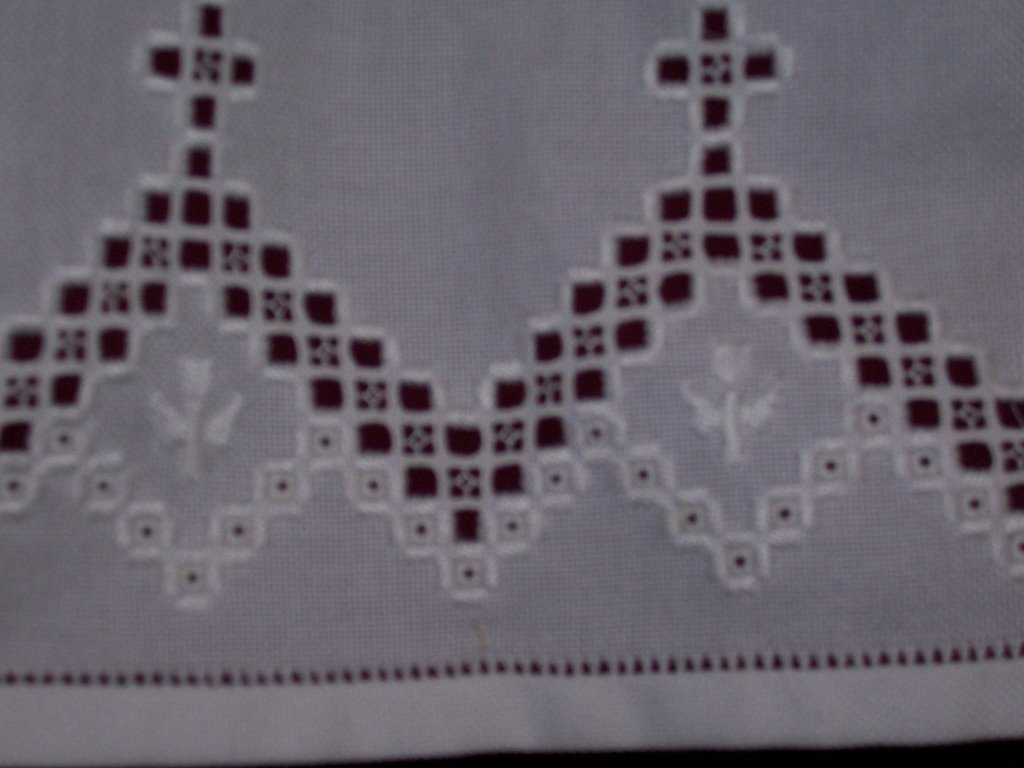
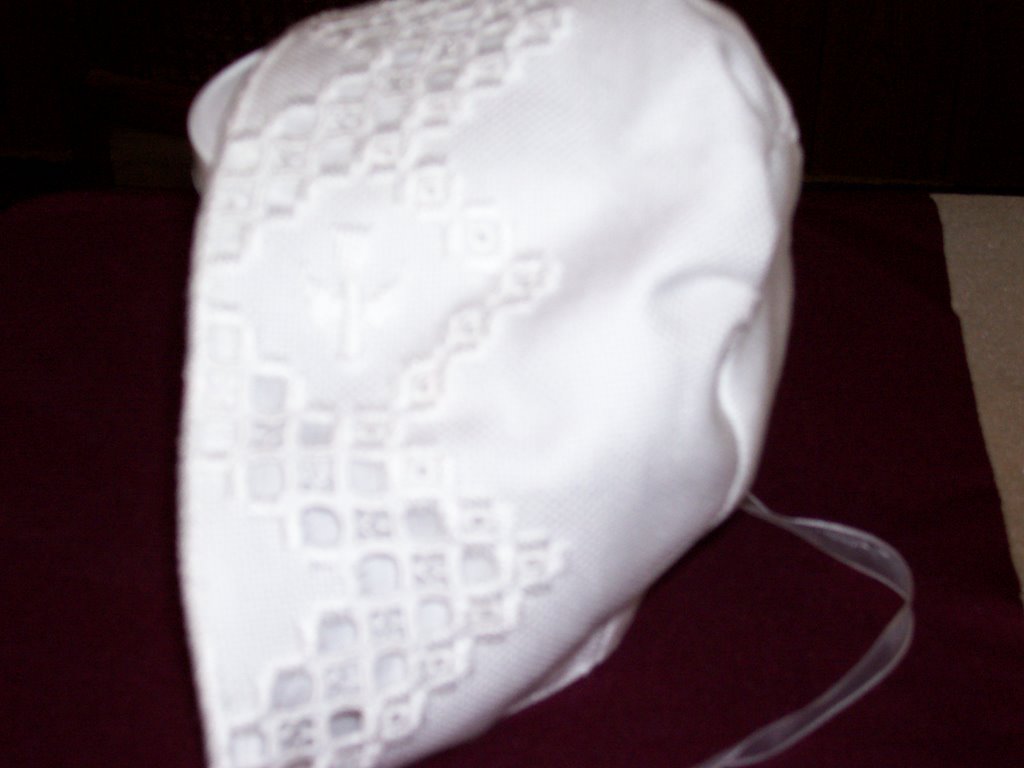
My last post featured the hardanger baptism dress made especially for my newest granddaughter. This picture shows a somewhat disgruntled baby dressed in her finery.
Knit Wit

And now for the knitting. I like to knit but as I get older my attention span decreases. Things that don't take a lot of time or yarn/money are best for me. Years ago I knit several Icelandic sweaters and lots of things for my kids but I don't think I could do that again. I will stick to small, quickly completed projects so I get a sense of accomplishment.
So far this winter 9 sets of fingerless mitts have been completed and progress is being made on the 10th pair. The only problem is finding homes for 8 pairs!
Knit Notes 1
Both pairs were made from the same pattern available at http://www.knitty.com/issuesummer06/PATTfetching.html. I used size 5 needles instead of size 6 suggested in the pattern. This pattern has a nice cable stitch that is not difficult. The white pair was made from Lion Brand Fisherman's Wool and the blue pair made from Yarn Bee Mosaic Twist.

Knit Notes 2

These mitts were fashioned from this pattern with some changes. The pattern is quite versatile because you can use different size yarns and needles and still use the basic pattern. The pattern is available from:
http://www.woolflowers.net/patterns.html Moss stitch was used on the cuff of the tan pair and seed stitch cuff used on the cuff of the blue pair. Size 2 needles were used for both pairs. The blue pair was knitted from Lion Brand Lion Wool Prints. The ever popluar Red Heart Super Saver Aran Fleck was used for the tan pair.
Moss stitch:
rounds 1 & 2: k1. p1 (over even number of stitches)
rounds 3 & 4: p1, k1
Seed stitch:
round 1: k1 p1 (over even number of stitches)
round 2: p1, k1
Knit Notes 3
 These were made from the same pattern and needle size as in Knit Notes 2. Both pairs have cuffs knitted in a mock cable pattern which is my favorite and very easy to do. There are different mock cable patterns but I like this one the best. Here is the sequence:
Round 1: *K2, P2, repeat
Round 2: *K 2 tog, don’t remove from needle, K the 1st stitch again. Remove both stitches from needle. P2, repeat from*
Round 3-4: K2, P2, repeat from *
Left pair knitted with Lion Brand Lion Wool Prints. Right pair made from Svale by Dalegarn.
Knit Notes 4

The left pair was made from Noro Cash Iroha yarn and I used the pattern from http://www.canadianliving.com/CanadianLiving/client/en/Crafts/DetailNews.asp?idNews=235529&idSM=307. I added a thumb because the original pattern did not have them. Don't ask how I added the thumb because I can't remember!!
Regia Jubilee self-striping fingering yarn was used for the pair on the right. I thought this was sock weight yarn but I stand corrected. This pattern came from: http://annypurls.blogspot.com/2006/12/hand-warming.html This pattern looked like more work than I was willing to do. I used the same number of cast on stitches and needle size but substituted the cable twist pattern with plain old stockinette stitch. I also shortened up the cuff and used 2x2 ribbing or mock cable ribbing on the cuff. Once the cuff was done I did this:
- k 1 round
- k29, place marker, make 1 stitch, k6, make 1 stitch, k29 (gusset)
- continue with pattern beginning with step 3.
Knit Notes 5
I made my friend's Christmas gift from this pattern and Lion Brand Fisherman's Wool. http://wineandneedles.blogspot.com/2004/12/wrist-warmer-pattern.html This pattern does not have thumbs but is very easy to do especially if you are not comfortable using circular needles. Here are 2 links for cabled fingerless gloves that have thumbs. I have not made these but hope to soon!!
http://www.knittingonthenet.com/patterns/mittensgauntlets.htm
http://thegivingflower.de/patterns/Cabled_Fingerless2.1_20060304.pdf
posted by Bitten @ 10:33 AM
0 Comments
![]()

